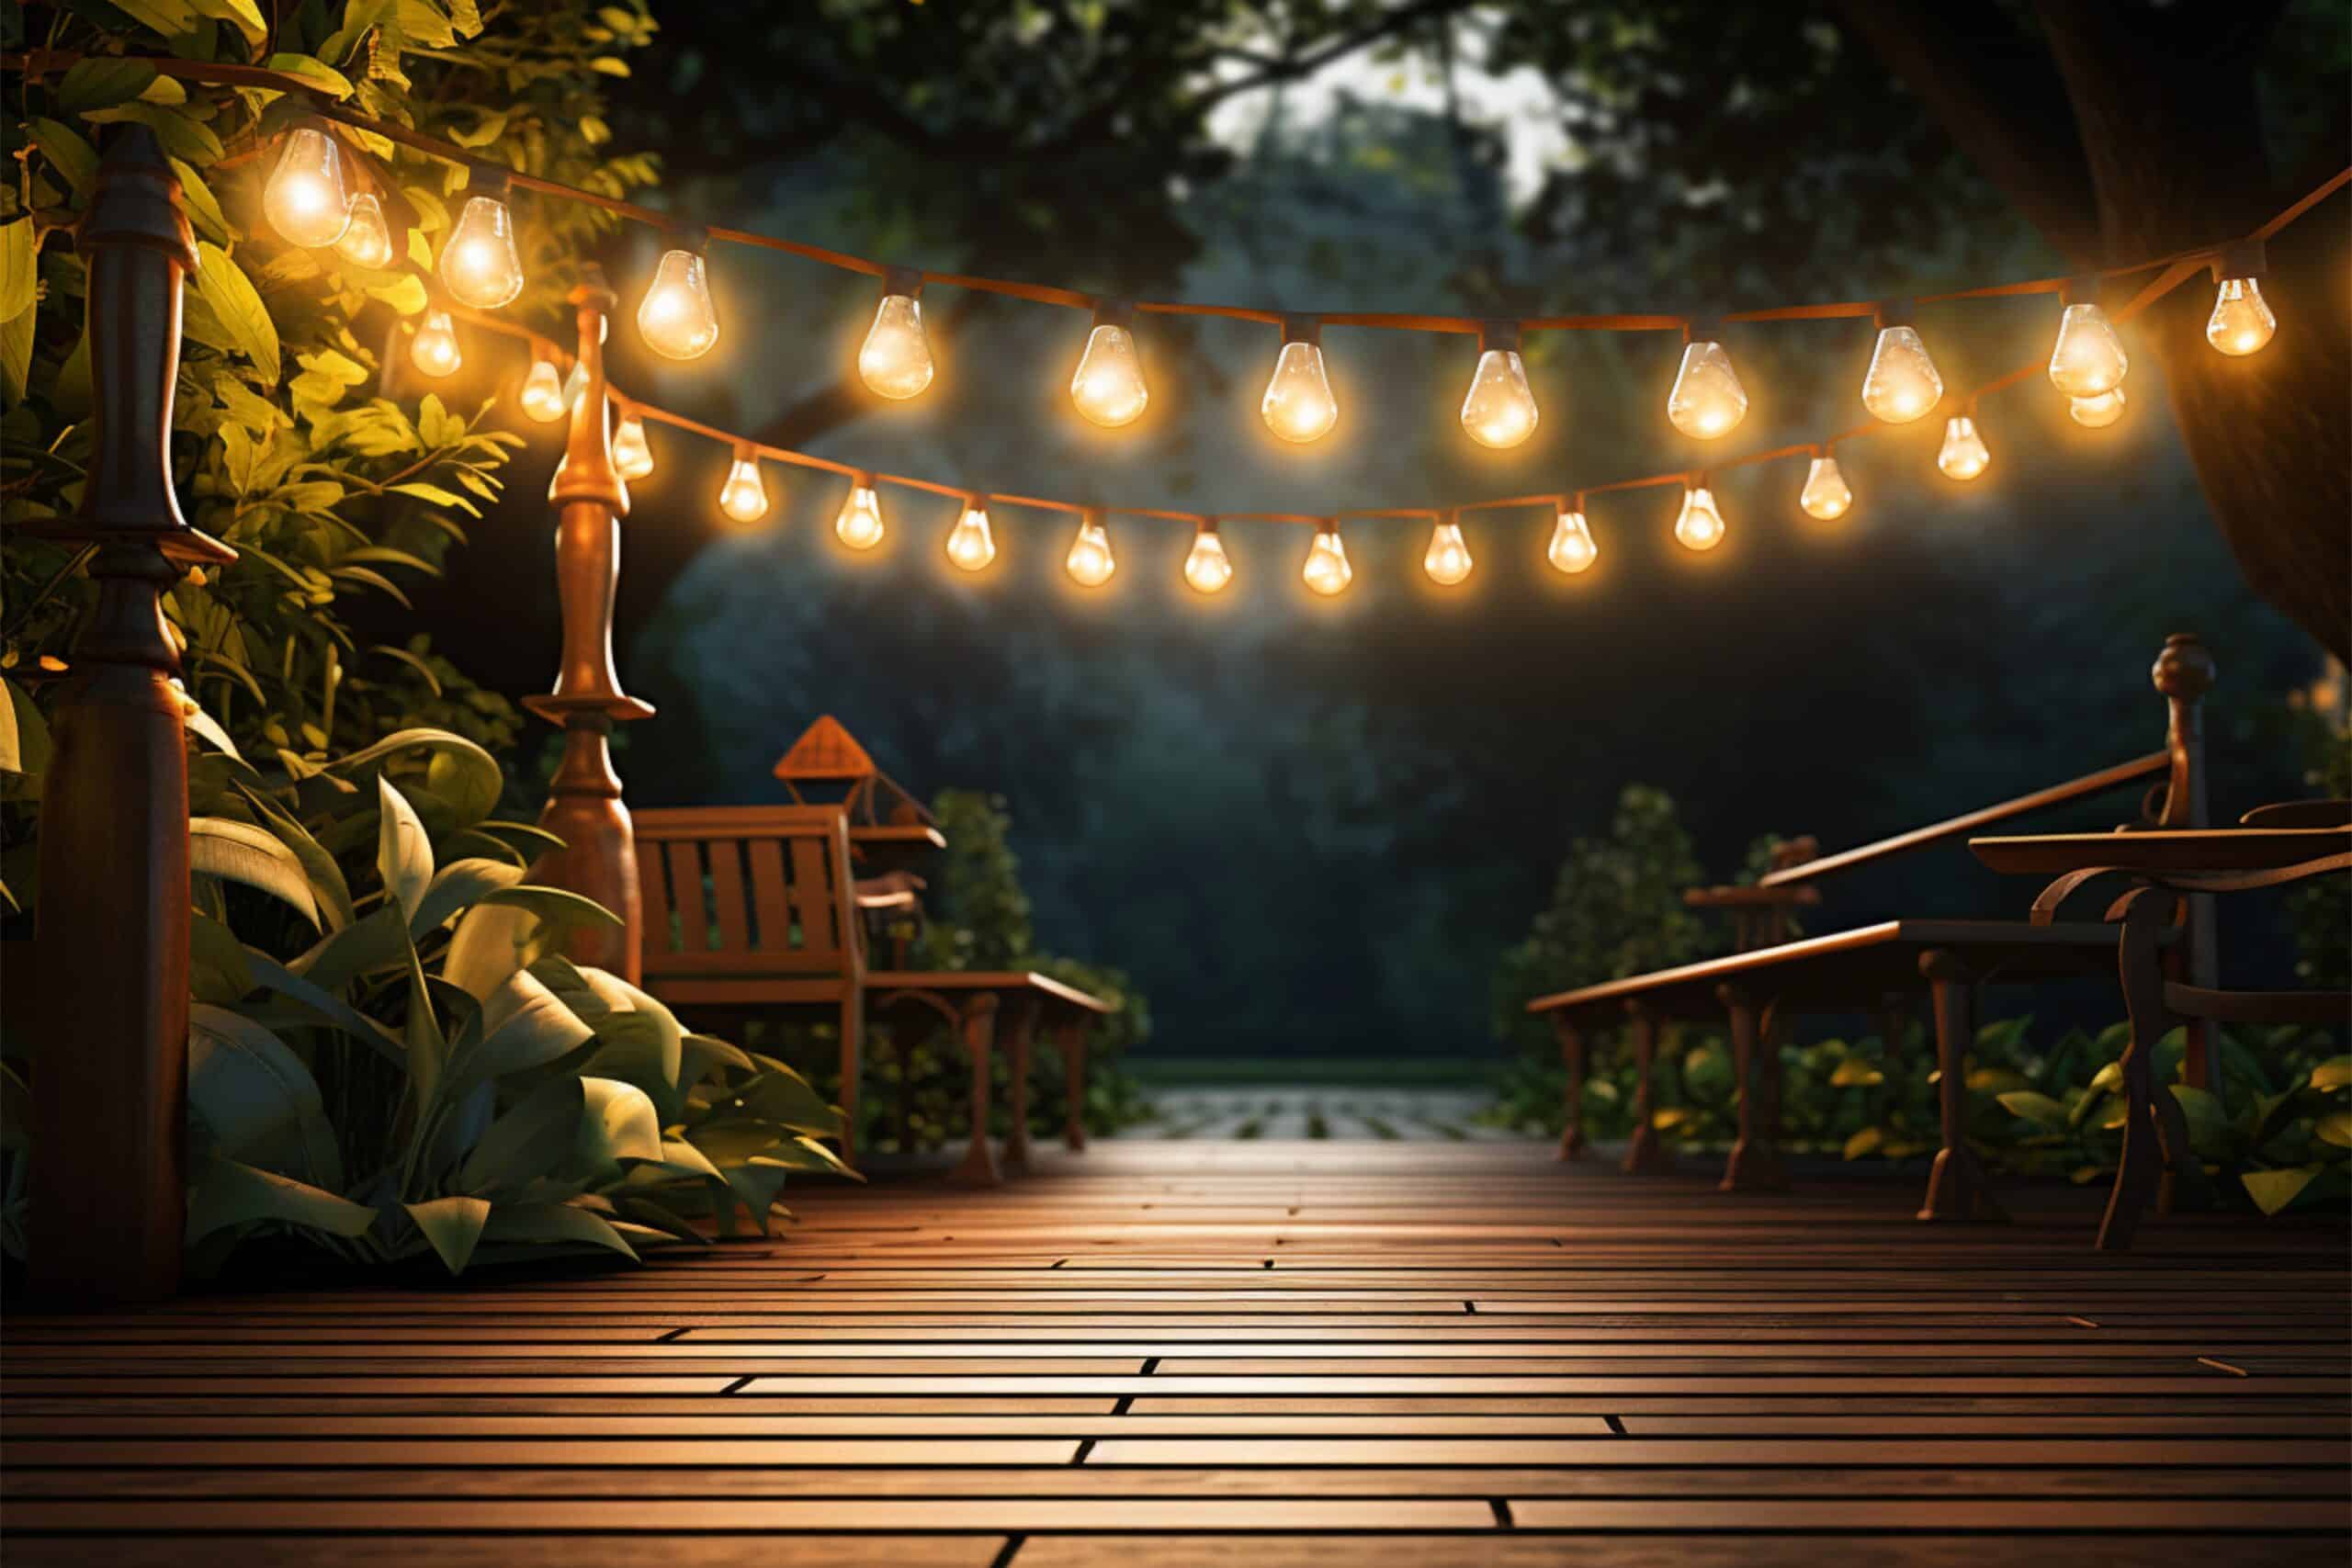
What is the process for installing Govee outdoor lights?
Key Takeaways
- The first step in installing Govee outdoor lights is to decide on the type of lighting you want to install, such as LED strip lights, string lights, or wall lighting.
- Determine the placement of your lights by considering areas such as walkways, driveways, patios, decks, and gardens, and the effect you want to achieve in each area.
- Before beginning the installation process, gather all the necessary tools and materials, such as a ladder, drill, screws, wire cutters, wire connectors, and specific hardware recommended by Govee.
Installing Govee outdoor lights can greatly enhance the ambiance and functionality of your outdoor space. Whether you want to illuminate your garden, highlight architectural features, or create a welcoming atmosphere for outdoor gatherings, Govee offers a range of outdoor lighting options to suit your needs. In this article, we will explore the step-by-step process for installing Govee outdoor lights.
Step 1: Decide on the type of outdoor lighting
The first step in installing Govee outdoor lights is to decide on the type of lighting you want to install. Govee offers a variety of options, including outdoor LED strip lights, outdoor string lights, and outdoor wall lighting. Consider the specific areas of your outdoor space that you want to illuminate and choose the appropriate lighting option accordingly.
Step 2: Determine the placement of your lights
Once you have decided on the type of outdoor lighting, determine where you want to place your lights. Consider areas such as walkways, driveways, patios, decks, and gardens. Think about the purpose of the lighting and the effect you want to achieve in each area.
Step 3: Gather the necessary tools and materials
Before beginning the installation process, gather all the necessary tools and materials. Some common tools and materials you may need include a ladder, drill, screws, wire cutters, wire connectors, outdoor lighting fixtures, and any specific hardware recommended by Govee for the chosen lighting option.
Step 4: Turn off the power
For safety purposes, it is important to turn off the power to the area where you will be installing the lights. Locate the appropriate circuit breaker in your electrical panel and switch it off.
Step 5: Follow the manufacturer’s instructions
Follow the manufacturer’s instructions provided with your Govee outdoor lighting product. These instructions will guide you through the specific installation process for your chosen lighting option. The instructions may involve drilling holes, running wiring, and attaching the fixture to a mounting bracket.
Step 6: Securely hang string lights or LED strip lights
If you are installing outdoor string lights or outdoor LED strip lights, use hooks or clips to securely hang them in the desired locations. Make sure the lights are evenly spaced and properly secured to avoid any accidents or damage.
Step 7: Test the outdoor lighting
After completing the installation, it is important to test the new outdoor lighting to ensure they are working properly. Turn on the power and check if all the lights are functioning as expected. Make any necessary adjustments to achieve your desired illumination effect.
Step 8: Enjoy your newly installed outdoor lighting
Once you have tested and adjusted the outdoor lighting, sit back and enjoy the beautiful ambiance created by your newly installed Govee outdoor lights. Whether you are hosting a party, spending time with family, or simply relaxing in your outdoor space, the lighting will add a touch of magic to your surroundings.
Conclusion
Installing Govee outdoor lights is a straightforward process that can greatly enhance the beauty and functionality of your outdoor space. By following the step-by-step guide provided by Govee and considering the specific needs of your outdoor area, you can create a stunning lighting setup that will delight you and your guests.
Related Websites:
FAQs:
Q: What are the benefits of using Govee outdoor lights?
Govee outdoor lights offer durability, energy efficiency, and various lighting options. They can enhance the aesthetic appeal and functionality of outdoor spaces, making them perfect for gardens, patios, or pathways.
Q: What tools and materials do I need for installing outdoor lights?
You will need general tools such as a ladder, screwdriver, wire connectors, and electrical tape. It is important to prioritize safety by turning off the power supply before starting the installation process.
Q: How should I plan the layout of Govee outdoor lights?
To plan the layout, assess the outdoor area considering factors such as desired lighting effects, power source availability, and potential obstacles. This ensures optimal placement and functionality of the lights.
Q: How do I install Govee outdoor lights?
Here is a step-by-step process:
1. Mounting: Securely mount the lights to different surfaces like walls, fences, or stakes.
2. Wiring: Connect the lights to a power source using wire connectors and ensure proper insulation.
3. Testing: Before completing the installation, make sure to test the lights for proper functionality.
Q: What should I do if I encounter issues with Govee outdoor lights?
Common issues like flickering lights, loose connections, or water damage can be addressed. Troubleshooting tips include checking for loose connections, regular cleaning, and ensuring proper insulation to maintain their longevity and performance.


