How To Use A Percolating Coffee Pot?
Key Takeaways
- The right coffee and water ratio for brewing coffee in a percolator is approximately 1 tablespoon of coffee for every cup of water.
- It is recommended to use coarsely ground coffee in a percolator to prevent the grounds from slipping through the filter and making the coffee bitter.
- The brewing time for a percolator is around 6-8 minutes for a stronger cup of coffee and 2-3 minutes for a milder cup, but it can vary depending on personal preference and the type of percolator being used.
A percolating coffee pot is a classic method of brewing coffee that has been used for many years. It involves passing boiling water through coffee grounds to extract the flavors and aromas of the beans. While there are different variations of percolators available, the basic steps for using a percolating coffee pot remain the same. In this article, we will explore the best practices and tips for using a percolator to brew a delicious cup of coffee.
Choosing the Right Coffee and Water Ratio
One of the essential aspects of brewing coffee in a percolator is getting the right coffee and water ratio. The general rule of thumb is to use a 1:2 ratio of coffee to water, meaning you should use approximately 1 tablespoon of coffee for every cup of water. This ratio can be adjusted according to personal preference, but it serves as a good starting point.
Additionally, it is crucial to choose the right grind size for your coffee beans. For percolators, it is recommended to use coarsely ground coffee to prevent the grounds from slipping through the filter and making the coffee bitter.
Preparing the Percolator
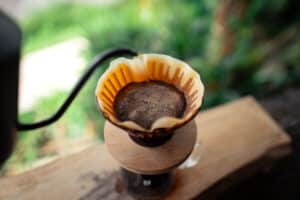
Before starting the brewing process, it is necessary to prepare the percolator. Most percolators come with a coffee filter basket, which is optional to use. If you prefer a cleaner cup of coffee with fewer grounds, you can place a coffee filter in the basket before adding the coffee grounds. However, if you enjoy a little more texture in your coffee, you can skip the filter and directly add the coffee grounds to the basket.
Once you have added the coffee grounds, it is time to add water to the percolator. It is recommended to start with hot water instead of cold water, as it helps to shorten the brewing time and improve the extraction process.
Brewing Process
After preparing the percolator, it is time to start the brewing process. Place the percolator on a medium heat source, such as a stovetop burner. It is essential to heat the percolator slowly and evenly to avoid scorching the coffee.
As the percolator heats up, you will notice bubbles forming inside the pot. This is an indication that the water is boiling and circulating through the coffee grounds. It is recommended to keep an eye on the brewing process and observe the formation of bubbles every few seconds.
The ideal brewing time for a percolator is around 6-8 minutes for a stronger cup of coffee and 2-3 minutes for a milder cup. However, it is essential to note that brewing time can vary depending on personal preference and the type of percolator being used.
Some percolators are designed with a whistle or other indicator to signal when the brewing process is complete. When you hear the whistle or notice that the percolation has stopped, it is time to remove the percolator from the heat source.
Serving the Coffee
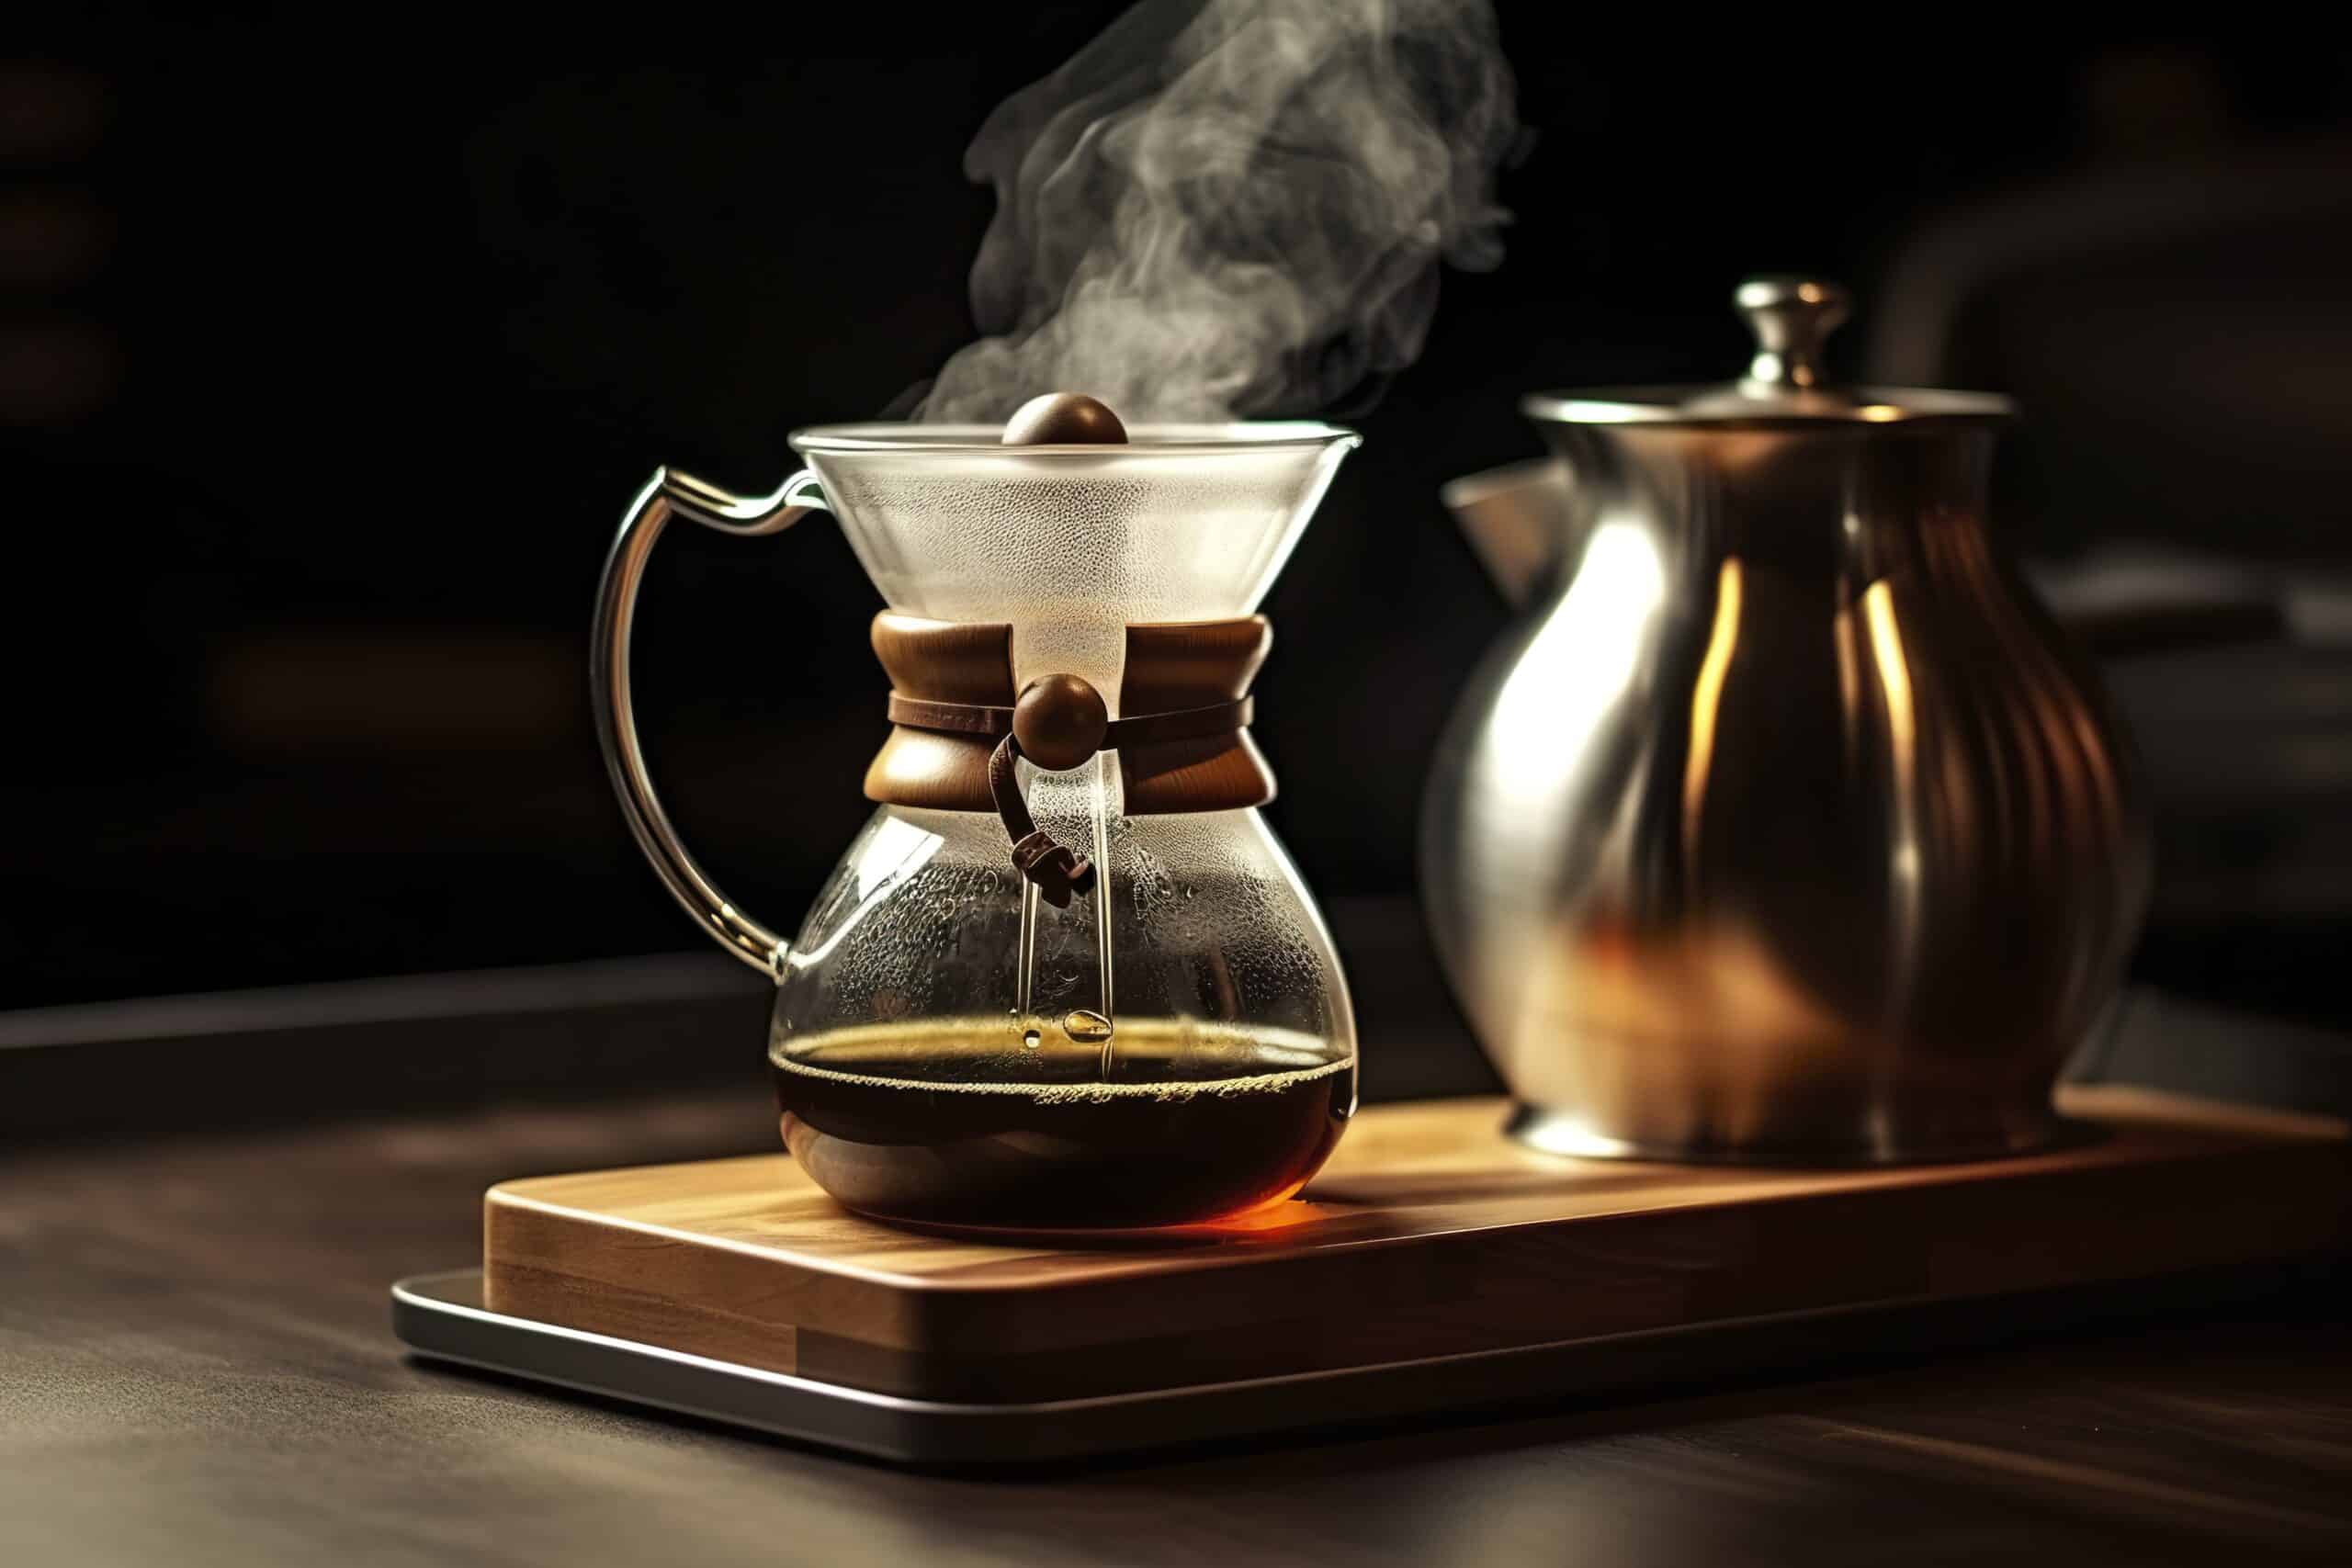
Once the brewing process is complete, it is time to serve the coffee. Carefully pour the brewed coffee into a mug, taking care not to pour any grounds that might have escaped the filter. You can serve the coffee black or add milk, cream, or sugar according to your preference.
It is important to clean the percolator immediately after brewing to prevent residue and marks from forming. Rinse the percolator with warm water and mild soap, ensuring all coffee grounds are removed. This will help maintain the percolator’s longevity and ensure a clean, fresh taste with each use.
Conclusion
Using a percolating coffee pot can be a delightful way to brew a rich and flavorful cup of coffee. By following the best practices mentioned above, such as choosing the right coffee and water ratio, using the correct grind size, and observing the brewing process, you can enjoy a delicious cup of percolated coffee. Remember to take care of your percolator by cleaning it thoroughly after each use to ensure a consistently great-tasting brew.
Related Websites:
FAQs:
Q: What is a percolating coffee pot?
A percolating coffee pot is a type of coffee maker that uses gravity to circulate hot water through coffee grounds, resulting in a rich and flavorful brew.
Q: Why have percolators become popular again?
Percolators have experienced a resurgence in popularity due to their ability to produce strong and bold coffee, as well as the nostalgia associated with their traditional brewing method.
Q: How does the percolation process work in coffee brewing?
The percolation process works by boiling water in the bottom chamber of the percolator, which creates steam and forces the hot water to rise up through a tube. The water then drips over the coffee grounds, extracting the flavor and aroma as it percolates back down into the pot.
Q: What is the importance of selecting high-quality coffee beans for percolators?
Using high-quality coffee beans is crucial for achieving the best flavor in your percolated coffee. Look for beans that are freshly roasted and have a flavor profile that suits your preferences.
Q: How can I adjust the strength of the brewed coffee using a percolating coffee pot?
To adjust the strength of your coffee, you can vary the brewing time. A shorter brewing time will result in a milder brew, while a longer brewing time will produce a stronger and more robust cup of coffee.