How To Install Smart Light Bulbs?
Key Takeaways
- Prepare for installation by turning off the power supply, removing the existing bulb, and inspecting the socket
- Choose the right app for your smart light bulb brand, such as Philips Hue or Lifx
- Connect the smart light bulb to your Wi-Fi network by following the app’s instructions, then customize its settings
Smart light bulbs have become increasingly popular in recent years, offering convenience, energy efficiency, and customizable lighting options. If you’re interested in upgrading your home lighting system, you may be wondering how to install smart light bulbs. In this article, we will provide you with a comprehensive guide on how to install smart light bulbs and make the most of their features.
Step 1: Prepare for Installation
Prior to installing your smart light bulbs, it’s important to ensure that you have the necessary equipment and a reliable Wi-Fi network. Here are some steps to follow:
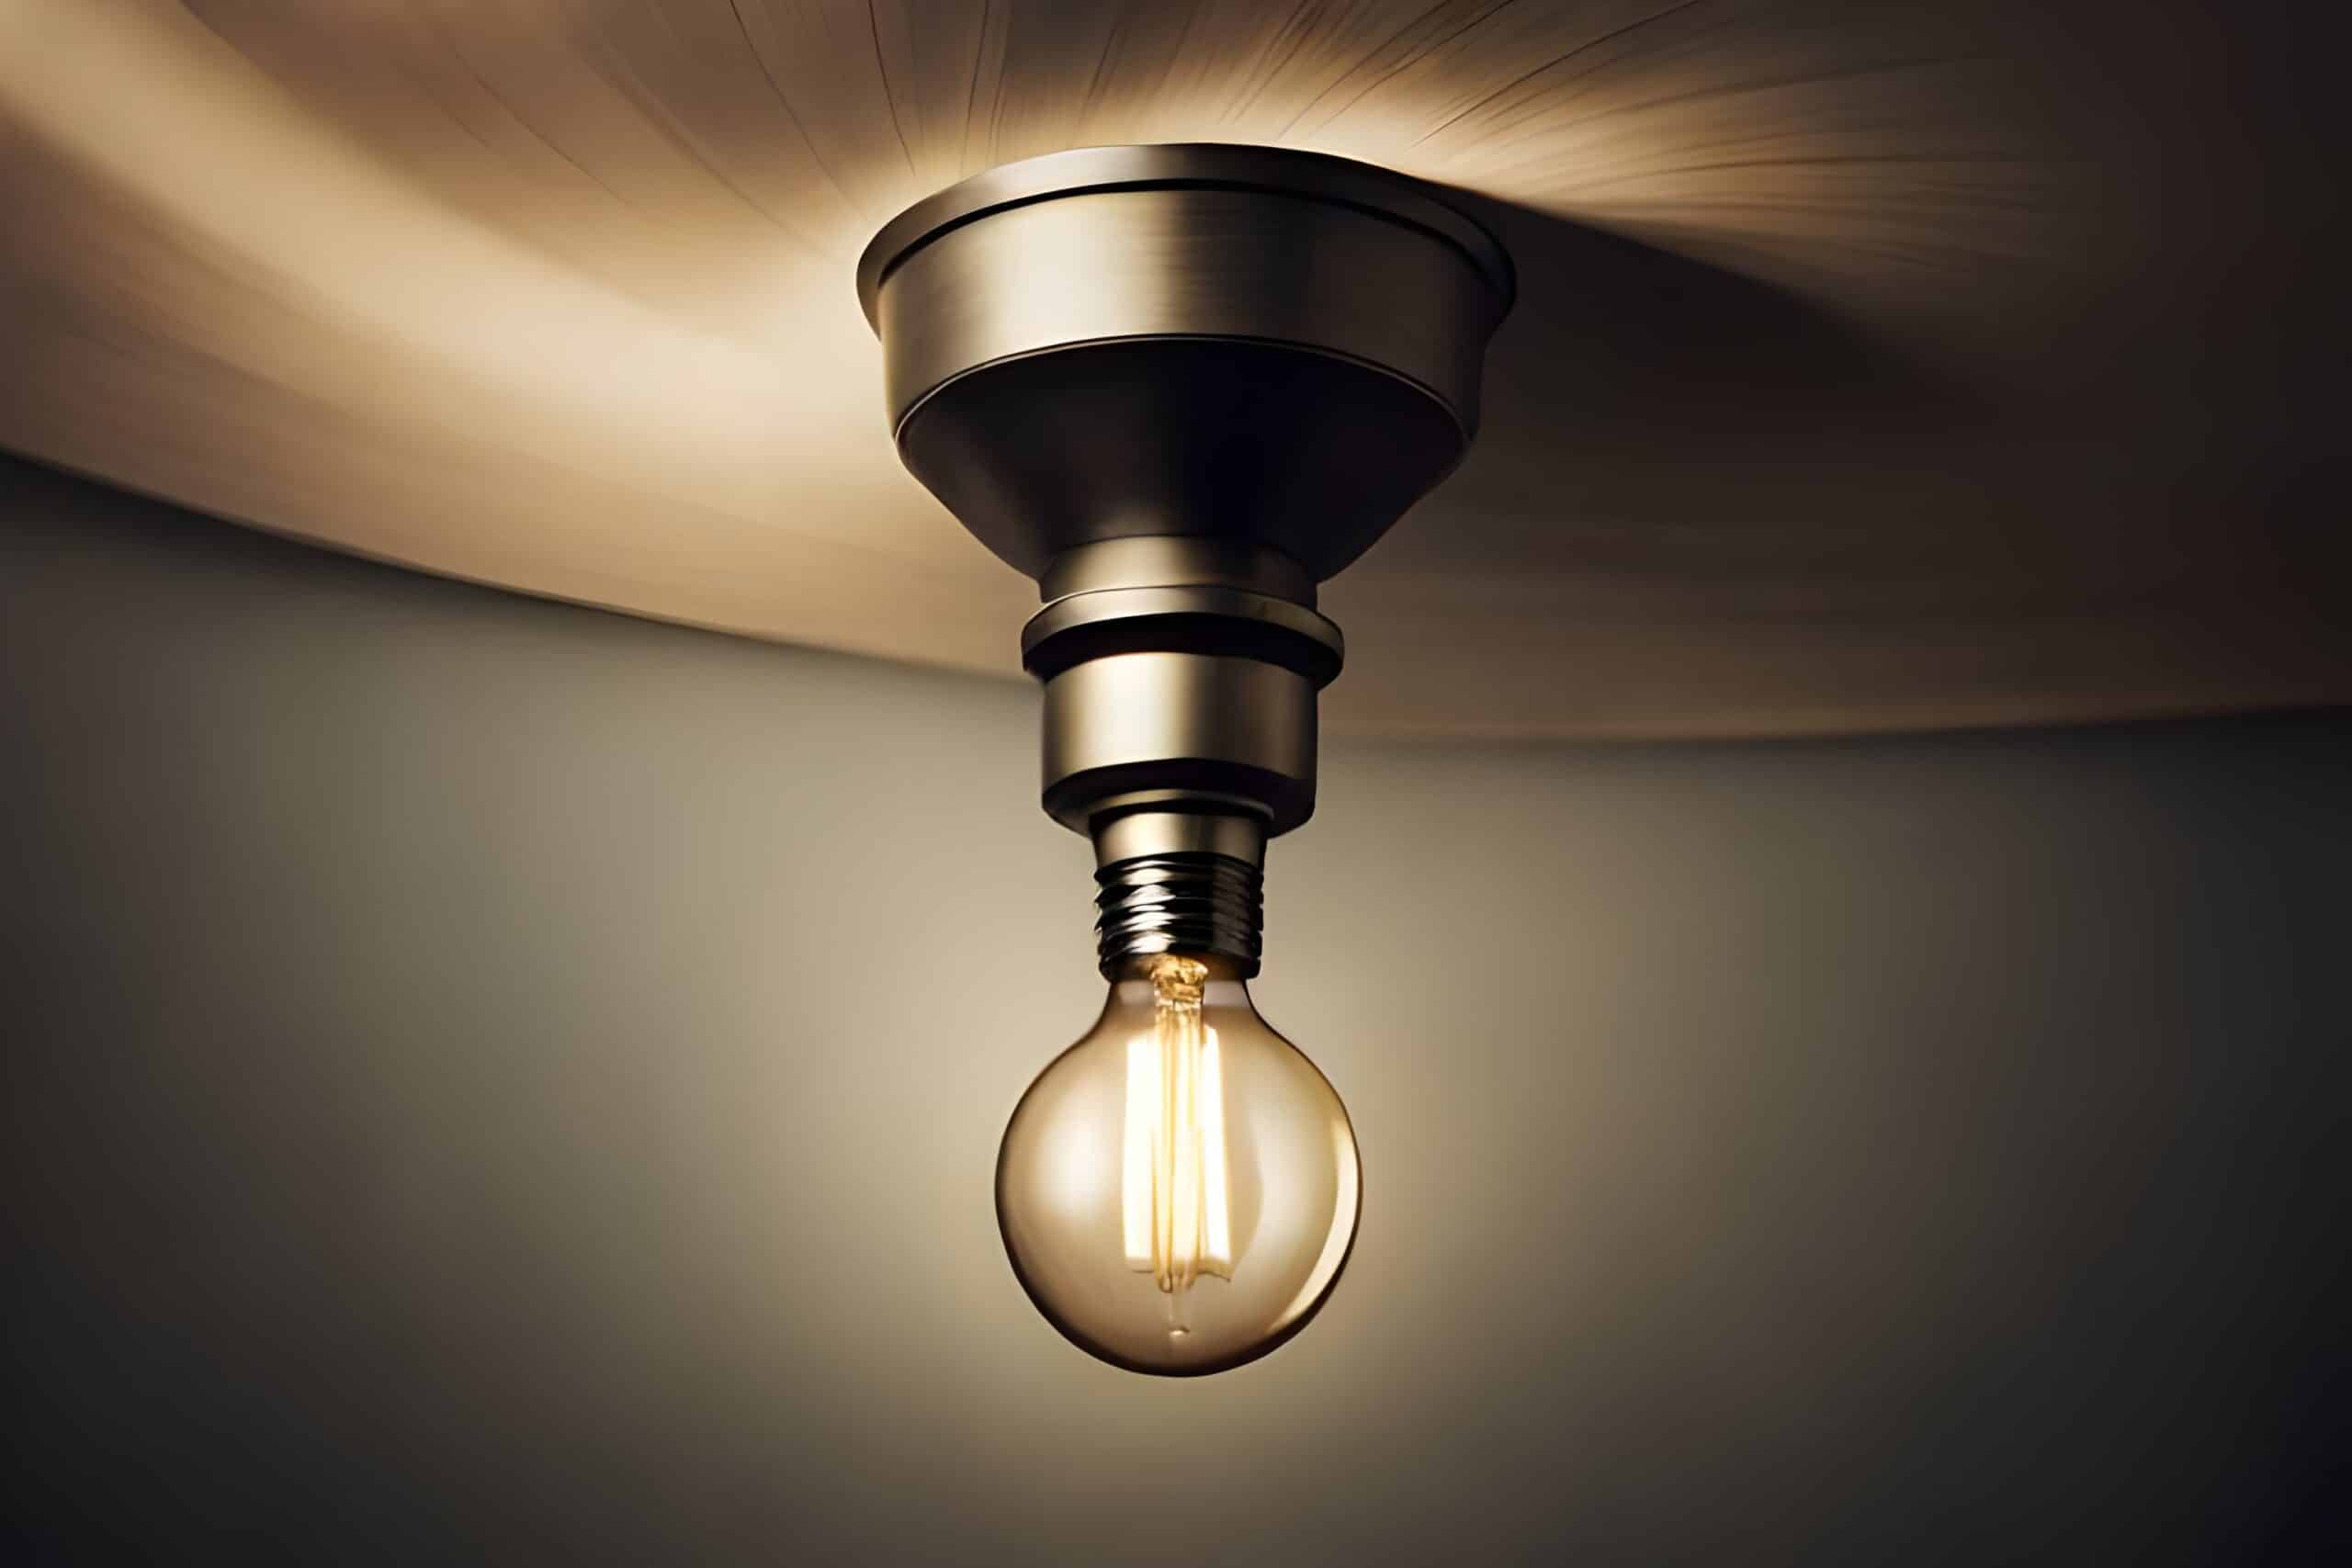
- Turn off the power supply to the light fixture where you’ll be installing the smart bulb. This is crucial for your safety.
- Remove the existing incandescent or LED bulb from the socket by gently unscrewing it in a counterclockwise direction.
- Inspect the socket to ensure it’s clean and free from any debris.
Step 2: Choose the Right App
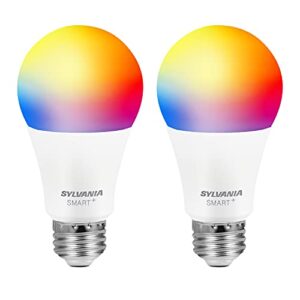
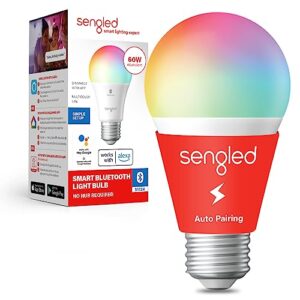
Each smart light bulb brand typically has its own dedicated mobile app that allows you to control and customize your lighting. It’s important to download the appropriate app for your specific smart bulb brand. Some popular brands include Philips Hue, Lifx, Nanoleaf, and Wyze. Visit the respective app store for your device and search for the app associated with your smart bulb brand.
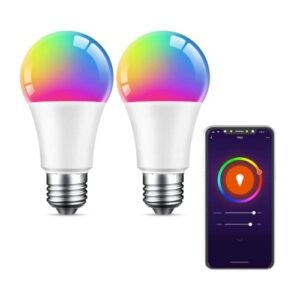
Step 3: Connect the Smart Light Bulb to Wi-Fi
Once you have the app installed, follow these steps to connect your smart light bulb to your Wi-Fi network:
- Ensure your smartphone or tablet is connected to your home’s Wi-Fi network.
- Open the app and create an account if required.
- Follow the on-screen instructions provided by the app to connect the bulb to your Wi-Fi network. This may involve putting the bulb into pairing mode or scanning a QR code.
- Once the connection is established, you’ll be able to control the smart light bulb using the app.
Step 4: Customize Your Smart Light Bulb
With your smart light bulb successfully connected to your Wi-Fi network, you can now customize its settings to suit your preferences. Here are some options you may have:
- Adjust the brightness level to create the desired ambiance in your living space.
- Choose from a wide range of colors if your smart bulb supports color-changing capabilities.
- Create schedules or automation routines to automatically turn the lights on or off at specific times.
- Explore additional features and integrations available through the app, such as voice control with virtual assistants like Amazon Alexa or Google Home.
Step 5: Install Additional Smart Light Bulbs
If you have multiple light fixtures or rooms where you want to install smart light bulbs, simply repeat the above steps for each bulb. Ensure that you have a stable Wi-Fi signal in all areas where you plan to install the bulbs to ensure optimal connectivity and control.
Conclusion
Installing smart light bulbs is a straightforward process that involves preparing for installation, choosing the right app, connecting the bulbs to your Wi-Fi network, customizing the settings, and installing additional bulbs as needed. By following these steps, you can transform your home lighting and enjoy the convenience and flexibility that smart light bulbs offer.
Related Websites:
FAQs:
Q: What are the benefits of smart light bulbs?
Smart light bulbs offer a range of benefits, including energy efficiency, convenience, and customization. They can be controlled remotely using a smartphone or voice commands, allowing you to easily adjust brightness, color, and scheduling. Additionally, smart light bulbs can save energy by automatically turning off when not in use.
Q: Why is it important to understand how to install smart light bulbs?
Understanding how to install smart light bulbs is important to ensure a safe and successful installation. It allows you to fully enjoy the benefits of smart lighting and avoid any potential risks or damage to your electrical system.
Q: What equipment do I need for installing smart light bulbs?
To install smart light bulbs, you typically need the bulbs themselves, a compatible light fixture, and a smartphone or home automation system. Some smart light bulbs may require additional equipment, such as a hub or bridge, depending on the brand and model.
Q: How can I troubleshoot common issues with smart light bulbs?
If you encounter connectivity issues with smart light bulbs, try rebooting your router or checking the Wi-Fi signal strength. For app-related issues, make sure your smartphone is running the latest software version and try reinstalling the app. If problems persist, consult the manufacturer’s troubleshooting guide or contact customer support.
Q: How do I install smart light bulbs?
To install smart light bulbs, follow these steps:
Step 1: Prepare the light fixture by turning off the power.
Step 2: Screw in the smart light bulb into the fixture.
Step 3: Download and set up the corresponding smartphone app.
Step 4: Connect the smart light bulb to the app or home automation system.
Step 5: Test the smart light bulb and adjust settings as desired.