How To Clean Single Serve Coffee Maker?
Key Takeaways
- Regular cleaning is crucial to maintain the performance and taste of your single serve coffee maker.
- Cleaning prevents the growth of mold, bacteria, and other harmful microorganisms that can thrive in a dirty environment.
- The step-by-step process for cleaning a single serve coffee maker includes unplugging the device, cleaning removable parts, wiping down the exterior, preparing a vinegar solution, running a cleaning cycle, rinsing with clean water, and reassembling.
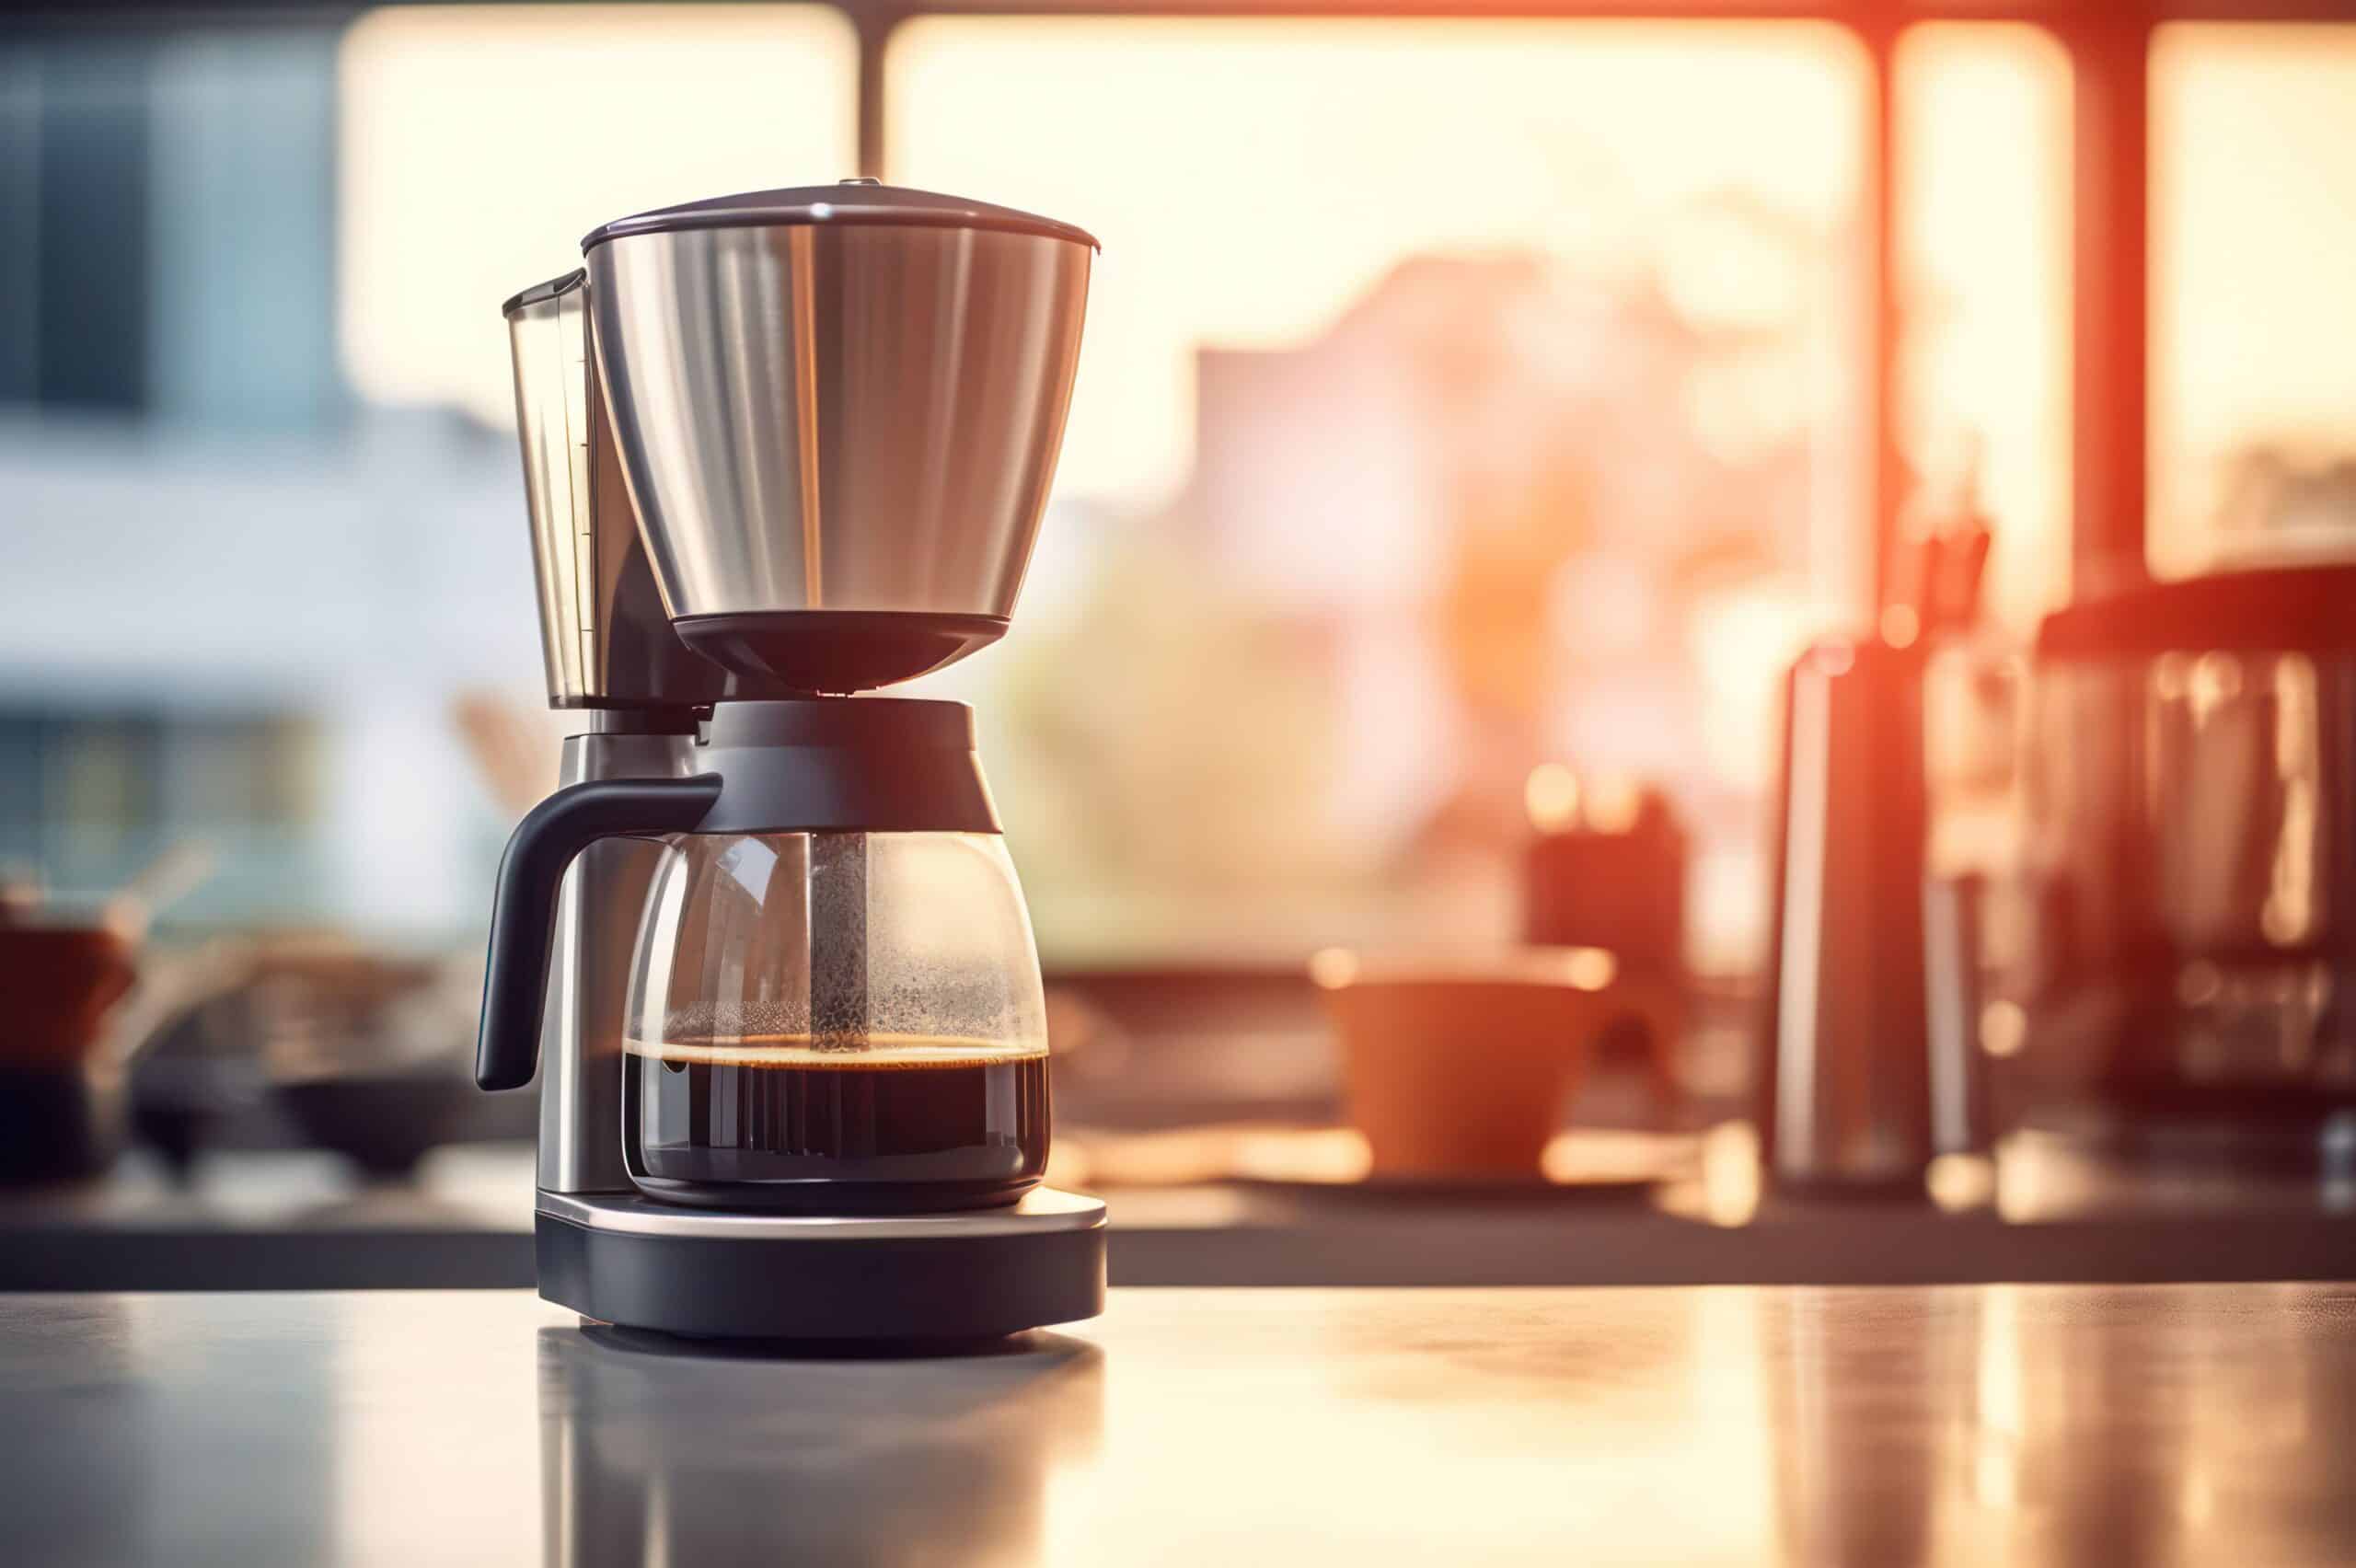
Coffee makers have become an essential part of our everyday lives, providing us with the convenience of brewing a fresh cup of coffee whenever we want. Whether you own a single serve coffee maker or a traditional drip coffee maker, regular cleaning is crucial to maintain its performance and ensure the best tasting coffee. In this article, we will focus on the steps to clean a single serve coffee maker, also known as a pod coffee maker.
Why Regular Cleaning is Important
Before we dive into the cleaning process, let’s understand why it is essential to clean your single serve coffee maker regularly. Over time, coffee oils, mineral deposits, and other impurities can build up in the machine, affecting the taste and quality of your coffee. If not cleaned properly, these residues can clog the brewing system, leading to performance issues and even potential health risks.
Cleaning your coffee maker not only ensures that your coffee tastes great but also extends the lifespan of the machine. Regular maintenance helps prevent the growth of mold, bacteria, and other harmful microorganisms that can thrive in a dirty environment.
Step-by-Step Guide to Cleaning a Single Serve Coffee Maker
Now that we understand the importance of cleaning, let’s go through the step-by-step process of cleaning a single serve coffee maker:
- Unplug the device and remove all removable parts: Start by unplugging the coffee maker from the power source. Remove all removable parts, such as the K-cup holder, tray, and water reservoir. These parts can usually be easily detached, allowing for thorough cleaning.
- Clean the removable parts: Once you have removed the parts, clean them with warm, soapy water. Use a sponge or a soft brush to scrub away any coffee residue or stains. Rinse the parts thoroughly and allow them to air dry before reassembling.
- Wipe down the exterior: Use a moist microfiber cloth to wipe down the outside of the coffee maker. Pay attention to the area around the K-cup basket, as coffee grounds can accumulate there. Make sure to remove any lingering coffee grounds or dirt.
- Prepare a vinegar solution: Fill the water tank reservoir with a mixture of half cold water and half white vinegar. The vinegar helps to remove mineral deposits and descale the machine. Vinegar is a natural cleaning agent and is safe to use in coffee makers.
- Run a cleaning cycle: Turn on the coffee maker and run a brewing cycle without inserting a K-cup. This allows the vinegar solution to circulate through the machine and clean the internal components. Repeat this step until there is no trace of water and vinegar left in the tank.
- Rinse with clean water: Once the vinegar cleaning cycle is complete, refill the water tank with clean, cold water. Run another brewing cycle without a K-cup to rinse out any remaining vinegar. Repeat this step until the vinegar smell is no longer noticeable.
- Reassemble and enjoy: Once you have completed the cleaning process, reassemble all the removable parts of the coffee maker. Plug the machine back in, and it is ready to brew your next delicious cup of coffee!
Recommended Cleaning Frequency
It is recommended to clean your single serve coffee maker at least once a week to maintain its performance and prevent any buildup. However, if you use your coffee maker daily or notice any performance issues, it is advisable to clean it more frequently.
Conclusion
A clean coffee maker not only ensures the best tasting coffee but also promotes the longevity of the machine. By following the step-by-step guide mentioned above, you can easily clean your single serve coffee maker and enjoy a fresh and flavorful cup of coffee every time. Remember, regular cleaning is key, so make it a part of your routine for a great coffee experience!
Related Websites:
FAQs:
Q: Why are single-serve coffee makers so popular?
Single-serve coffee makers have gained popularity due to their convenience and ability to brew a fresh cup of coffee quickly. With no need for measuring or brewing a whole pot, they provide a hassle-free coffee experience.
Q: What are the consequences of neglecting to clean a single-serve coffee maker?
Neglecting to clean a single-serve coffee maker can lead to various issues. It can result in clogs, affecting the taste of your coffee and reducing its quality. Additionally, mineral buildup can occur, affecting the performance and longevity of the machine.
Q: How does regular cleaning benefit my single-serve coffee maker?
Regular cleaning of your single-serve coffee maker offers several benefits. It helps maintain the taste and flavor of your coffee, ensuring a better coffee experience. Additionally, it prevents clogs and mineral buildup, extending the lifespan of your machine.
Q: What materials do I need to clean my single-serve coffee maker?
To clean your single-serve coffee maker, you will generally need mild dish soap, warm water, a damp cloth, and a vinegar solution. Specific product names may vary, so it’s best to refer to your coffee maker’s manual for any recommended cleaning materials.
Q: How often should I clean my single-serve coffee maker?
Establishing a regular cleaning routine is essential for optimal performance. It is recommended to clean your single-serve coffee maker at least once a month. However, depending on usage and water quality, some may find it beneficial to clean it weekly.