How to Make a Homemade Sand Volleyball Court
Key Takeaways
- The first step in building a homemade sand volleyball court is selecting the ideal location.
- Preparing the ground by clearing debris and ensuring proper drainage is crucial for building a high-quality sand volleyball court.
- Choosing the right materials, such as good quality sand, net and poles, boundary lines and markers, drainage system, and sand preservation fabric, is essential for a homemade sand volleyball court.
Are you a volleyball enthusiast looking to have your very own sand volleyball court? Whether it’s for casual games with friends or competitive play, building a homemade sand volleyball court can be a rewarding project. In this article, we will guide you through the process, providing you with all the necessary steps and materials.
Step 1: Selecting the Ideal Location
The first step in building a sand volleyball court is finding the perfect location. Consider factors such as accessibility, nearby facilities, and space availability. It’s important to have enough room for the court itself as well as a safety space around it. Ideally, the playing area should measure 50′ x 80′, with a clear space of 10 feet around it.
Step 2: Preparing the Ground
Once you have identified the location, it’s time to prepare the ground. Clear the area of any debris, plants, or obstructions that could interfere with the playing surface. It is recommended to have a level surface for optimal playability. If necessary, you can excavate the court area to a depth of 1-1/2 to 3 feet, depending on the drainage of the site. This will ensure proper water drainage and prevent water accumulation on the court.
Step 3: Choosing the Right Materials
Choosing the right materials is crucial for building a high-quality sand volleyball court. Here are some of the materials you will need:
- Sand: Good quality sand is essential for a homemade sand volleyball court. It should be suitable for volleyball and should be level and thick enough to prevent players from contacting the underlying surface. Approximately 80-100 tons of sand are recommended for a standard court.
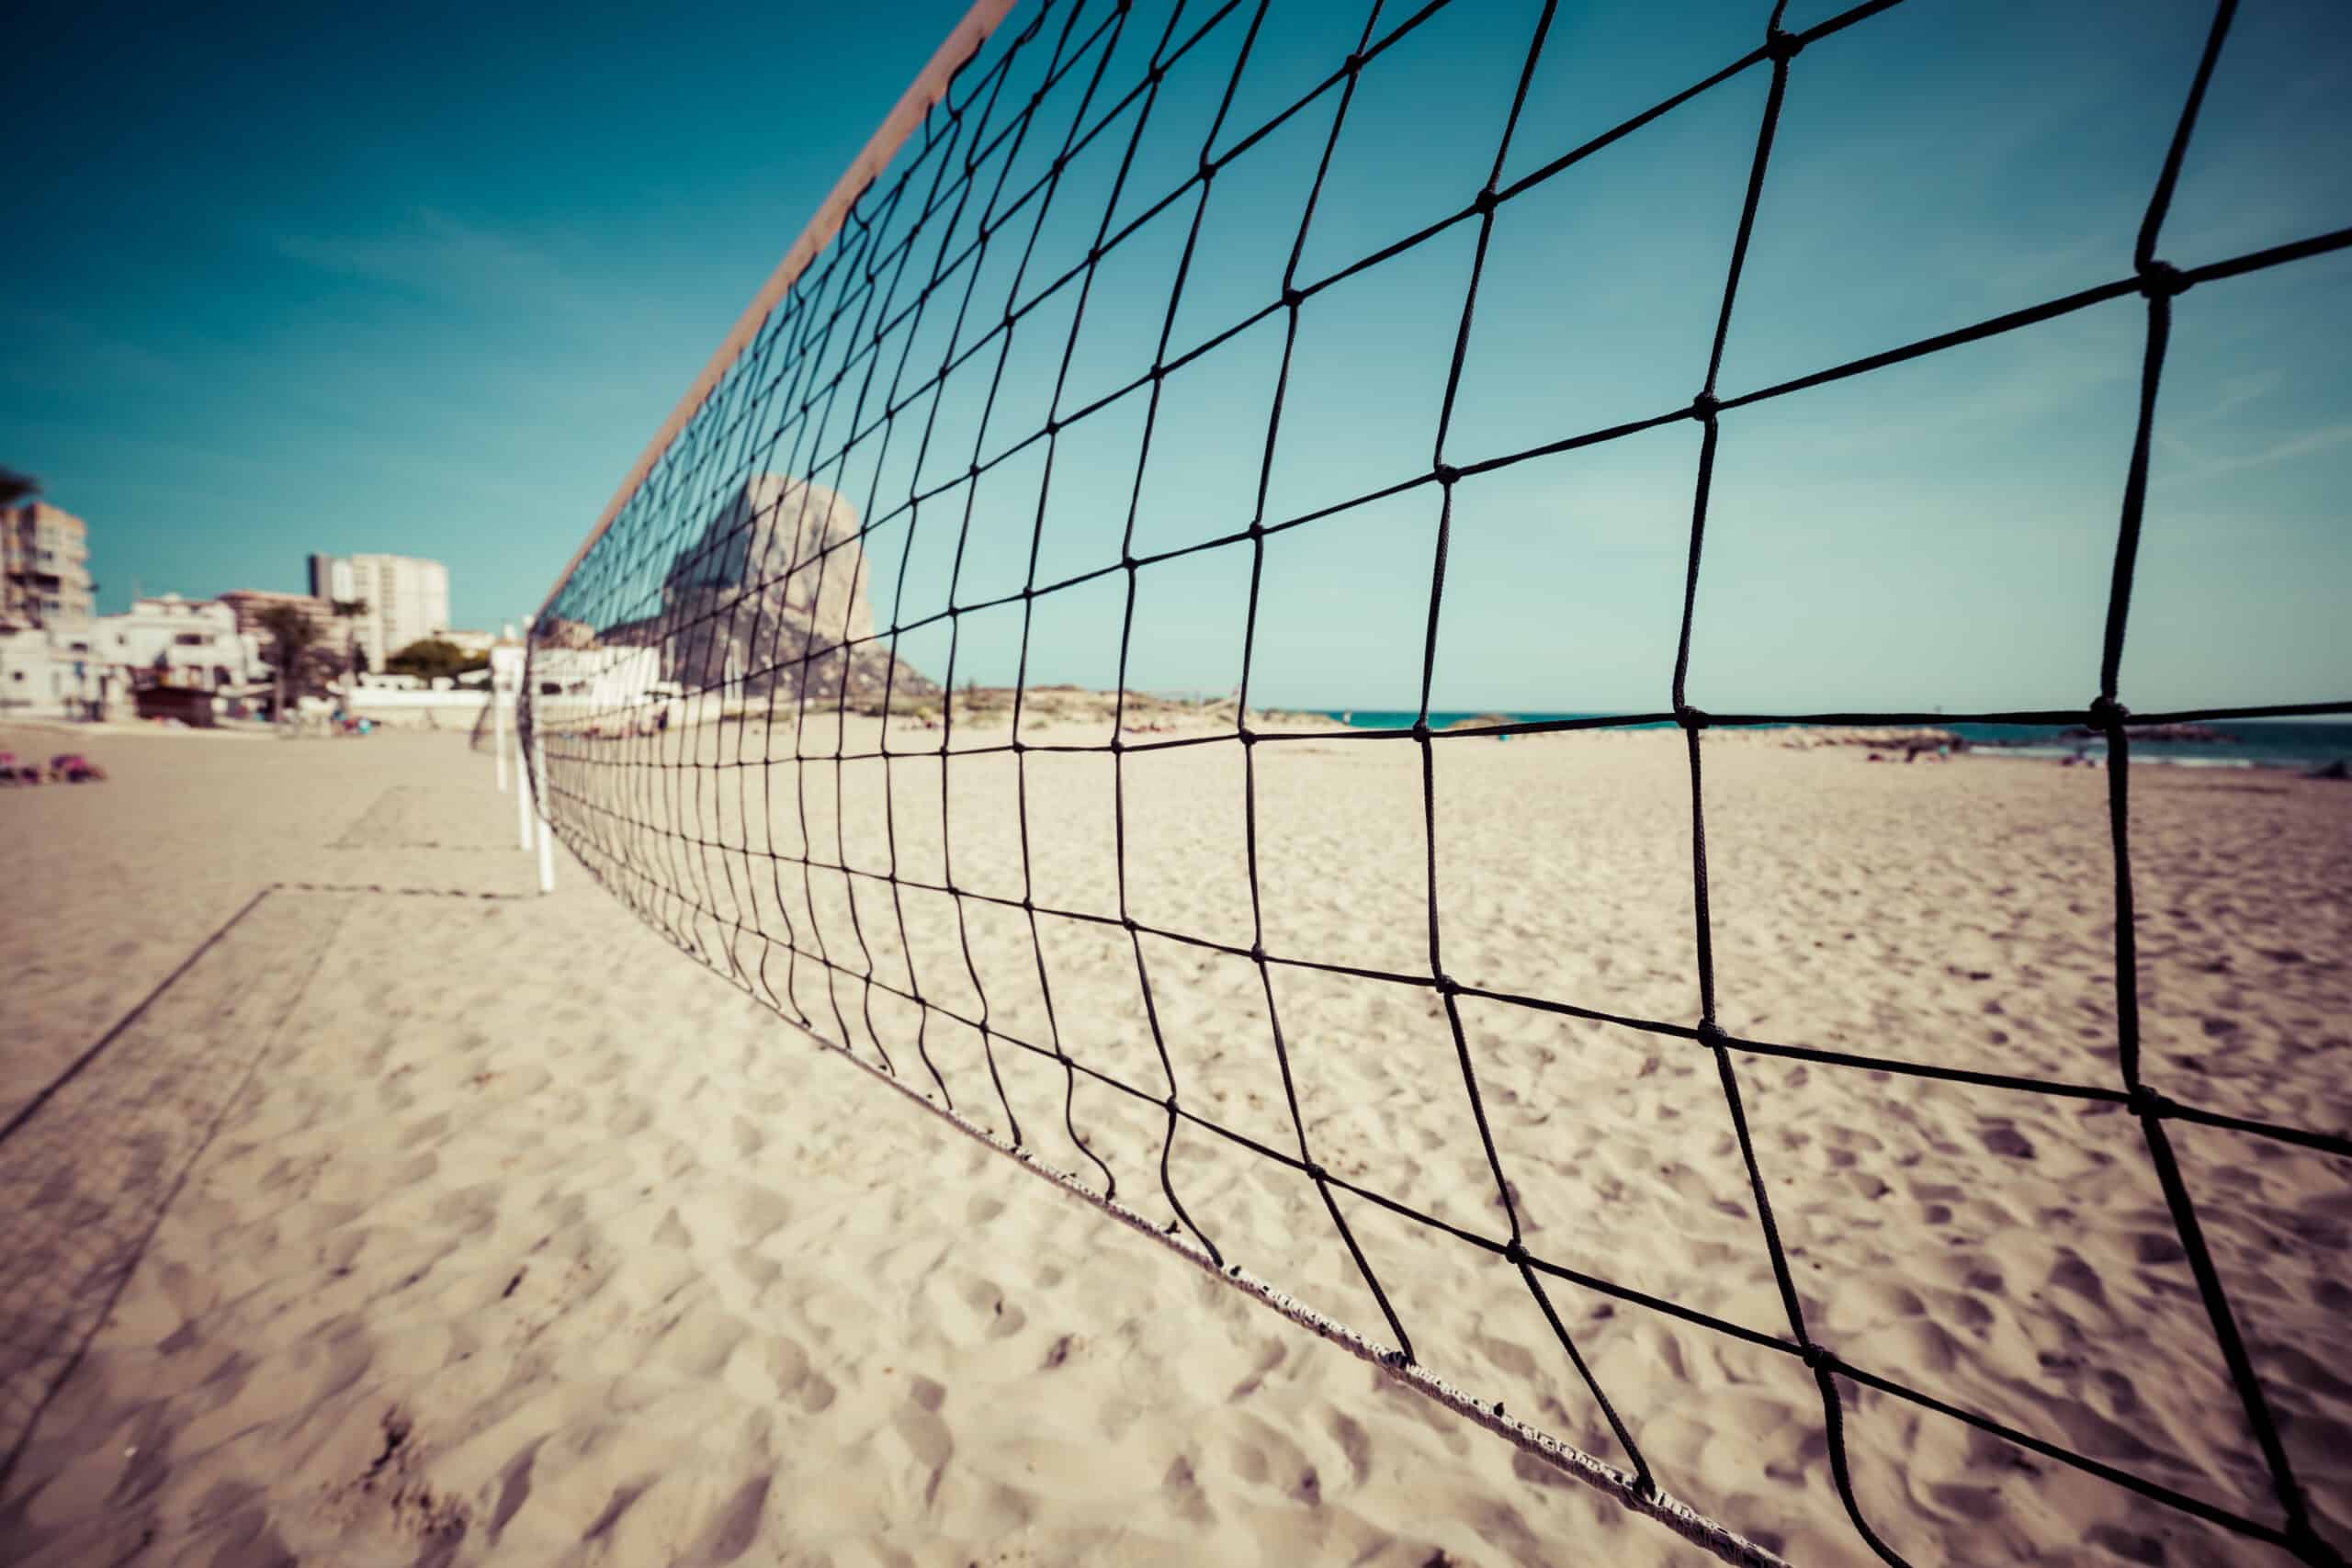
- Net and Poles: Invest in a sturdy net and poles designed specifically for beach volleyball. These should be durable and able to withstand outdoor conditions.
- Boundary Lines and Markers: Use brightly colored tape or rope to mark the boundary lines of the court. Ensure that the materials you choose can withstand the beach environment.
- Drainage System: Proper drainage is important to prevent water from accumulating on the court. Consider installing perforated drainage pipes and covering them with pea gravel for effective drainage. Wrap the drainage pipe with sand preservation fabric to prevent clogging.
- Sand Preservation Fabric: Sand preservation fabric can be used to prevent the sand from washing away. It is placed on top of the gravel and below the sand to provide stability and prevent erosion.
- Optional Extras: Depending on your preferences and budget, you may consider adding artificial turf, lighting, court enclosures for a professional look, comfortable seating areas, shade options for players and spectators, native beach vegetation for landscaping, and a first aid kit for safety measures.
Step 4: Setting Up the Court
Now that you have gathered all the necessary materials, it’s time to set up the court. Here is a step-by-step guide:
- Net Height: The standard net height for men is 7’11 5/8″ and for women is 7’4 1/8″. Co-ed competition is played on a men’s height net.
- Court Dimensions: The court should measure 29’6″ wide by 59’0″ long, measured from the outside edges of the boundary lines. It is recommended to have 10′ clear space around the boundaries for a complete playing area of 49’6″ wide by 79’0″ long.
- Site Preparation: Pay attention to the direction of the court, which should run lengthwise North/South for optimal playing conditions. Clear the area above the playing surface of any obstructions like tree branches and power lines. To keep the sand in the court, you can line the perimeter with railroad ties, but be aware that they pose a safety hazard.
- Excavation: Call your local “Diggers Hotline” to locate any buried power lines and utilities. Excavate the playing area to a depth of 3 feet and create a pitch towards one end or corner. Dig a drainage ditch leading away from the court’s lowest point. Lay perforated drainage pipe with the closed end at the highest point and the open end at the lowest point. Wrap the drainage pipe with landscaping fabric to prevent clogging.
- Net Standards: Dig holes at least 3 feet deep for the net standards and set them in concrete. Plumb the standards in two opposing directions and fasten supports to prevent movement during concrete pouring.
- Filling: Cover the base and drainage pipe with gravel and spread it uniformly. Roll out landscape fabric to prevent sand from filtering into the gravel. Finally, spread sand evenly throughout the playing area.
Step 5: Maintenance and Safety
Once your homemade sand volleyball court is complete, it’s important to establish a maintenance routine to keep it in good condition. Here are some maintenance tips:
- Sweep the court regularly to remove dirt and debris.
- Use a soft broom for indoor courts and sweep gently on outdoor sand courts to avoid displacing the sand.
- Act quickly to clean up spills and use a special stain remover for sports surfaces.
- Fill small cracks with the appropriate material and consider resurfacing for larger damages.
- Check the volleyball net for tears or damage and replace if necessary.
- Rake the sand regularly to keep it smooth and even, and remove any debris.
- Use windbreakers to protect the court from erosion caused by strong winds.
- Keep indoor courts well-ventilated to prevent moisture build-up and consider using dehumidifiers if necessary.
- Invest in weather-resistant covers to protect outdoor courts from rain, snow, and sun damage.
- Regular maintenance is key to maintaining a long-lasting court.
- Safety should always come first, so check for any hazards and fix them immediately.
- Some maintenance tasks can be done by yourself, but for more complex repairs and resurfacing, it may be best to call in professionals.
Building a homemade sand volleyball court can be an exciting project that provides you with endless hours of fun and entertainment. By following the steps outlined in this article and using the right materials, you can create a high-quality court that meets your needs. Whether you’re a casual player or a serious competitor, your homemade sand volleyball court will be a place where you can enjoy the game with friends and family.
Related Websites:
FAQs:
Q: How do you choose the right location for a homemade sand volleyball court?
When selecting a location for your homemade sand volleyball court, it’s important to consider factors such as available space, nearby obstacles, and access to sunlight. Look for a level area free of trees or structures that might interfere with gameplay. Additionally, choose a spot that allows for proper drainage to prevent water buildup on the court.
Q: What type of sand is best for a volleyball court?
The ideal type of sand for a volleyball court is clean, fine-grained, and free of clay or silt. Look for sand with angular grains that provide good stability and prevent excessive shifting. Avoid using beach or river sand, as these types may contain impurities that affect gameplay.
Q: What materials do I need to make a homemade sand volleyball court?
To make a homemade sand volleyball court, you will need boundary lines, a volleyball net, and posts to hold the net. Additionally, you may require tools for clearing and leveling the area, and materials for creating a sturdy border around the court.
Q: How do I properly maintain a homemade sand volleyball court?
Regular maintenance of a homemade sand volleyball court is essential for optimal performance. This includes raking the sand regularly to keep it even and removing any debris. To prevent weed growth, consider using a weed barrier or applying herbicides. It’s also important to store the net and boundary lines properly when not in use and protect them from weather damage.
Q: What safety measures should I consider when building a homemade sand volleyball court?
Safety should be a top priority when building a homemade sand volleyball court. Consider installing padding or barriers around any nearby obstacles to minimize the risk of injuries. Ensure players wear proper footwear to maintain traction on the sand. Promote player awareness and enforce safety rules. It’s also advisable to have first aid supplies readily available and be prepared for emergencies.


